
Four Point Perspective in 6 Simple Steps
Learn four point perspective in six short steps, from four evenly spaced points to a full 360-degree room, then warm up below.
Play the Daromeon Cube Challenge
Ready to draw the missing cube?
Press Play when you are ready to draw. The game starts only after you choose to play.
Loading Daromeon…
Preparing your drawing challenge…
Four Point Perspective: The Short Version
Four point perspective draws a full turn of the head on one flat page. Here it is in one list; each line matches a numbered step below.
- Draw one long horizon. The left edge and the right edge are the same direction.
- Mark four vanishing points a quarter of the page apart.
- Draw every corner as a straight vertical, halfway between two points.
- Draw each ceiling edge as an arc that peaks above one point.
- Mirror the arcs below the horizon for the floor.
- Add doors, windows and floor lines that follow the same arcs, then shade.
Four Point Perspective Drawing Step by Step
This four point perspective drawing shows a square room from its middle, so you see all four walls at once. Use a long sheet, a pencil and a ruler for the verticals only. Draw lightly until step 6.
- 1Step
Step 1. Draw a long horizon across the page
Draw one horizontal line at eye level, edge to edge. In four point perspective the page shows a full 360-degree turn, so whatever leaves the right edge comes back in at the left edge. A wide sheet, about twice as long as it is tall, works best.
Mistake: a short, square page leaves no room for the curves to flatten out.
- 2Step
Step 2. Mark four evenly spaced points
Divide the four point perspective horizon into four equal parts and put a vanishing point in the middle of each. Each point is 90 degrees of view from the next. Points 1 and 3 belong to one set of parallel lines, and points 2 and 4 to the other.
Mistake: guessing the spacing. Measure it, or every wall will lean.
- 3Step
Step 3. Draw the corners as straight verticals
Each room corner sits halfway between two points. Draw it as a straight vertical line with a ruler. Verticals never bend in four point perspective, which is the quickest way to tell it apart from fisheye drawings.
Mistake: bowing the corners. That belongs to five-point, not four-point.
- 4Step
Step 4. Arc the ceiling line over each wall
In four point perspective the middle of each wall is closest to you, so its top edge sits highest there. Draw one arc per wall, peaking right above that wall’s own point and dropping toward the corners. Extended past the corners, the arc would land exactly on the two neighboring points.
Mistake: one smooth wave with no kinks. The arcs meet at a corner, not in a curve.
- 5Step
Step 5. Mirror the arcs for the floor
Below the horizon, draw the four point perspective floor line the same way: one arc per wall, lowest under each point, meeting the ceiling arcs at the same straight corners. Your eye is closer to the floor than the ceiling here, so the floor arcs are deeper.
Mistake: copying the ceiling arc unchanged. The depth of each arc depends on eye height.
- 6Step
Step 6. Add details and shade
In four point perspective a door keeps straight sides, while its top follows a smaller version of the wall arc. Floor seams running away from you curve toward the point they face. Shade each wall with its own flat tone so the four planes read clearly.
Mistake: a window top drawn straight across a wide wall.
That is the whole four point perspective system. It works for interiors, wraparound street scenes and any view wider than about 120 degrees.
Warm Up Your Eye in the Cube Game
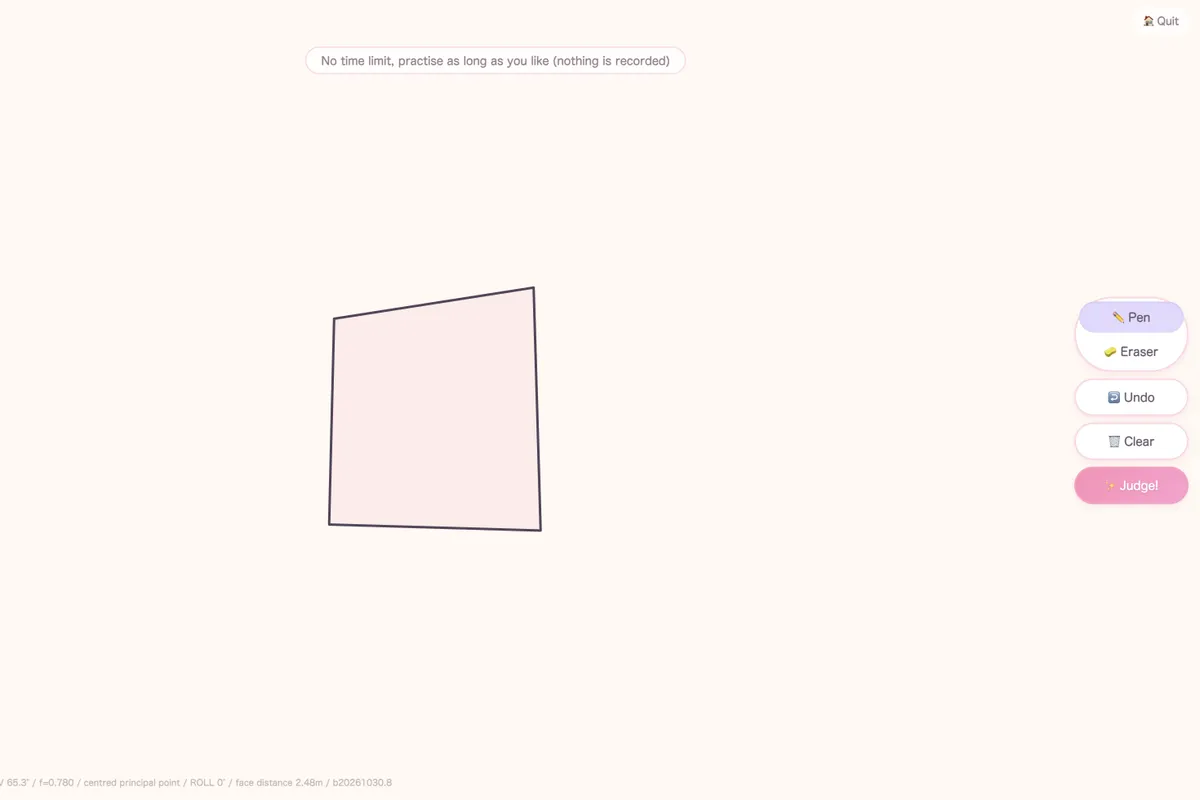
The Cube Challenge above uses a normal, straight-line camera with a 65.3-degree view. That is smaller than one quarter of a four point perspective panorama, so inside the game every edge is straight and runs to a single vanishing point.
That makes it a fast warm-up for the skill under every curve here: seeing which way an edge is heading. Play three untimed rounds, then return to your four point perspective page. The game scores where your edges go, from 0 to 100, not how smooth your curves are.
Jump back to the gameTwo Point vs Four Point Perspective
Two-point is a narrow slice of four point perspective. Inside that slice, the curves are so gentle that you can draw them straight. Widen the view past that and only four point perspective keeps the walls joined.
Two point perspective
- Shows about 100 degrees, one corner at a time.
- Every edge is straight and runs to one of two points.
- Best for a single building or one corner of a room.
Four point perspective
- Shows up to 360 degrees on one page.
- Verticals stay straight; level edges arc between opposite points.
- Best for panoramas, full rooms and wraparound streets.
The same room in two-point (left) and in four point perspective across 270 degrees (right).
Six Four Point Perspective Mistakes and How to Fix Them
Most problems in four point perspective come from six habits. Each pair shows the wrong version beside the fix.
1. Straight ceiling lines.Fix: arc them, highest in the middle of each wall.
2. Bent corners.Fix: keep every vertical straight.
3. Uneven points.Fix: measure four equal gaps along the horizon.
4. Arcs that sag.Fix: the nearest part of a wall sits farthest from the horizon.
5. Arcs that miss the points.Fix: extended, each arc must land on the two neighboring points.
6. Page edges that don’t match.Fix: the left and right edges show the same corner at the same height.
4 Point Perspective Drawing: A Quick Self-Check
Run these four checks on every 4 point perspective drawing before you darken a line:
- Are the four points exactly a quarter of the page apart?
- Is every vertical edge straight and upright?
- Does each arc peak above, or dip below, a vanishing point?
- Do the left and right page edges match, so the room wraps around?
A useful habit for four point perspective: pencil a faint grid first. Draw verticals every few centimeters and three or four arcs above and below the horizon for each wall, then build the room on top of it.
Practice Plan: Four Point Perspective in 7 Days
Ten minutes a day is enough. This plan builds four point perspective one habit at a time.
| Day | What to draw |
|---|---|
| Day 1 | Three long horizons, each with four evenly spaced points. |
| Day 2 | Ceiling arcs only: one arc per wall, peaking above each point. |
| Day 3 | A full four point perspective room: corners, ceiling and floor arcs. |
| Day 4 | Five game rounds, then redraw your weakest wall. |
| Day 5 | Add a door and two windows that follow the arcs. |
| Day 6 | A street corner: building tops arc toward the far points. |
| Day 7 | Review four point perspective with one full room, compared with Day 3. |
When the arcs feel natural, bend the verticals too and add a center point with five point perspective, the fisheye view that comes next in this series. If straight-line views still feel shaky, print a page from the perspective grid generator and practice two-point corners first.
How We Tested These Steps
We built every diagram by projecting a real 3D room onto a 360-degree cylinder, one sample point at a time, so no curve is drawn by eye. Two numbers fell out of that: each wall fills exactly a quarter of the page, and a ceiling line drops to about 71% of its middle height at the corners.
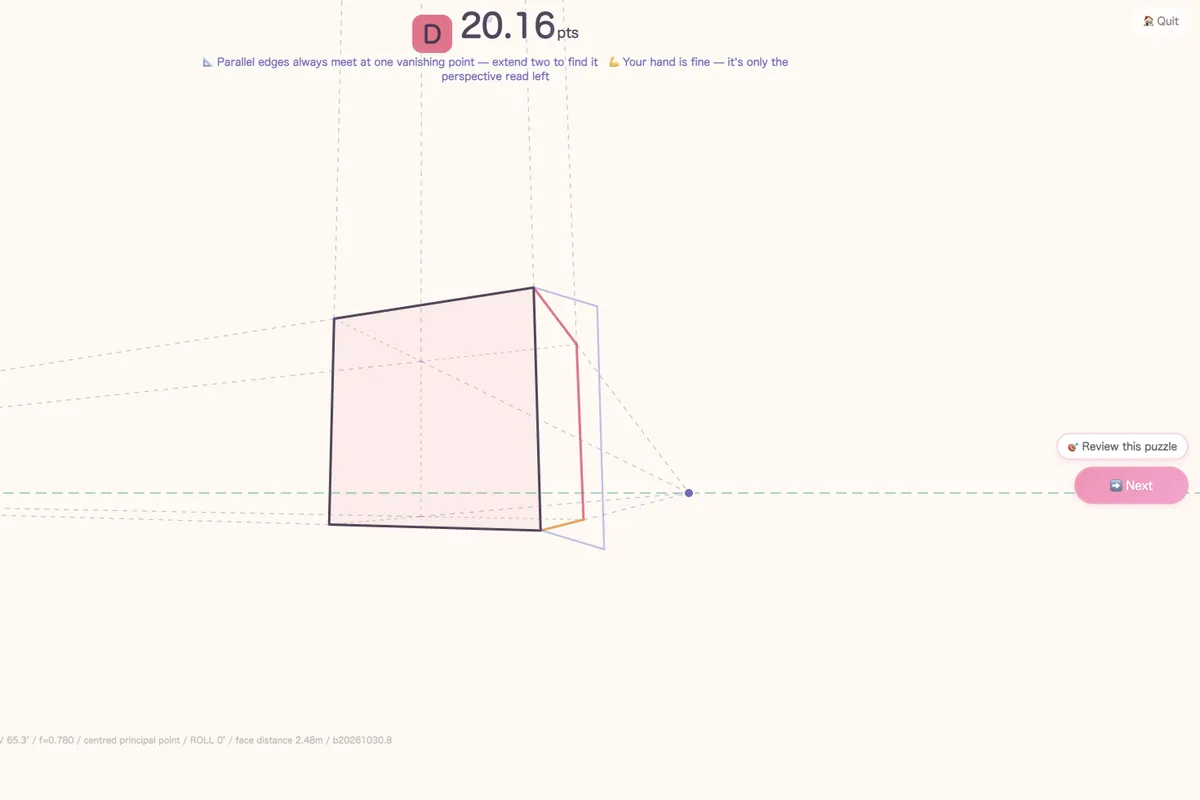
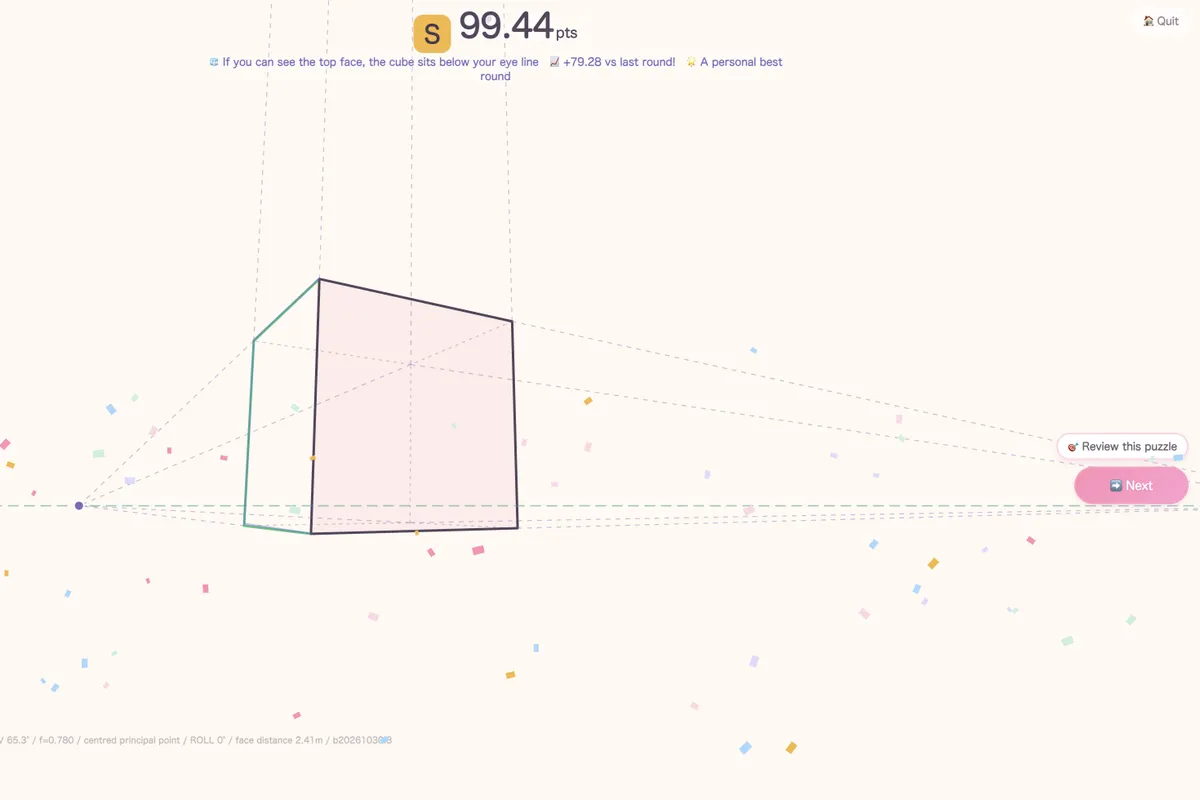
On November 15, 2026, we tested the straight-line skill underneath in the Cube Challenge, untimed Practice mode. Depth edges drawn parallel scored 20.16 (grade D). Depth edges aimed at their vanishing point, which we found first by extending the given edges, scored 99.44 (grade S). Tested by the Daromeon team.
Limits: the game uses one straight-line camera, so it cannot check your arcs, your four point perspective spacing or the wrap at the page edges. Practice those on paper.
Four Point Perspective: FAQ
What is four point perspective?
Four point perspective is a curvilinear drawing system with four vanishing points spaced evenly along one horizon. It can show a full 360-degree view on one page. Vertical edges stay straight, while level edges bend into arcs that run between two opposite points.
How is four point perspective different from two point perspective?
Two-point covers roughly 100 degrees with straight lines and two points. Four point perspective keeps going around the circle, adds two more points behind you, and lets level lines curve so the walls join up into a panorama.
Where do you put the four vanishing points?
Evenly along the horizon, one quarter of the page apart, with the page as wide as a full turn. Opposite points, such as 1 and 3, are 180 degrees apart and share the same set of parallel lines.
Is four point perspective the same as fisheye?
No. Fisheye is five point perspective: a circle with a center point, and both verticals and level lines bend. Four point perspective keeps verticals straight and wraps sideways, more like a panorama photo.
How do I make a four point perspective grid?
Draw the horizon and four evenly spaced points, add verticals at regular gaps, then draw a few arcs above and below the horizon for each wall. Each arc peaks above a point and meets the next arc at a vertical halfway between points.
Why do some tutorials put points above and below the page?
Some teachers use the name for a setup with points at the left, right, top and bottom, where verticals bend too. That is closer to five-point fisheye without its center point. This guide uses the panorama version, where verticals stay straight.
Ready to Practice Four Point Perspective?
Warm up in the cube game, then draw your first four point perspective room in under ten minutes.