
Five Point Perspective in 6 Simple Steps
Learn five point perspective in six short steps, from one circle and five points to a full fisheye room, then warm up below.
Play the Daromeon Cube Challenge
Ready to draw the missing cube?
Press Play when you are ready to draw. The game starts only after you choose to play.
Loading Daromeon…
Preparing your drawing challenge…
Five Point Perspective: The Short Version
Five point perspective fits everything in front of you, 180 degrees, inside one circle. Here it is in one list; each line matches a numbered step below.
- Draw a large circle and mark its center point.
- Draw the horizon through the center; mark left and right points on the circle.
- Draw a vertical through the center; mark top and bottom points.
- Draw edges across the view as arcs through two opposite points.
- Draw depth edges as straight lines toward the center.
- Add details that follow the same arcs, then shade.
Five Point Perspective Drawing Step by Step
This five point perspective drawing shows a room from just inside the doorway, looking at the back wall. Use a compass or a round object for the circle and a pencil for the arcs. Draw lightly until step 6.
- 1Step
Step 1. Draw a circle and its center point
Draw a large circle. It is the edge of your view: everything 90 degrees away from where you look lands on it. Mark the center. In five point perspective, this center point is where you are looking, and it is the only point inside the circle.
Mistake: a small circle. You need room for the curves to show.
- 2Step
Step 2. Add the horizon and the side points
Draw a horizontal line through the center of your five point perspective circle for eye level. Mark the left and right vanishing points where it meets the circle. Every edge that runs left to right in the scene will curve toward these two points.
Mistake: a horizon that misses the center. It must pass straight through it.
- 3Step
Step 3. Add the top and bottom points
Draw a vertical line through the center and mark where it meets the circle at the top and bottom. That makes the five vanishing points of five point perspective: center, left, right, top and bottom. Vertical edges in the scene will curve toward the top and bottom points.
Mistake: placing top and bottom points inside the circle instead of on it.
- 4Step
Step 4. Draw the back wall with arcs
In five point perspective the back wall becomes a curved square. Its top and bottom edges are arcs that would pass through the left and right points if you extended them. Its sides are arcs through the top and bottom points. Every arc bulges away from the center.
Mistake: drawing the back wall as a ruler-straight rectangle.
- 5Step
Step 5. Draw depth edges straight to the center
Edges that run away from you are the one exception in five point perspective. Draw each one as a straight line from the circle toward the center point, stopping at a corner of the back wall. These four lines split the room into walls, ceiling and floor.
Mistake: curving the depth edges. Lines through the center never bend.
- 6Step
Step 6. Add details and shade
Floor tiles running across the room are arcs through the side points; tiles running away from you are straight lines to the center. A five point perspective door on the back wall is a small curved square. Shade each surface with its own tone.
Mistake: mixing straight and curved lines for the same direction.
That is the core of five point perspective. Skateboard shots, comic panels and tight interiors all use the same circle and the same five points.
Warm Up Your Eye in the Cube Game
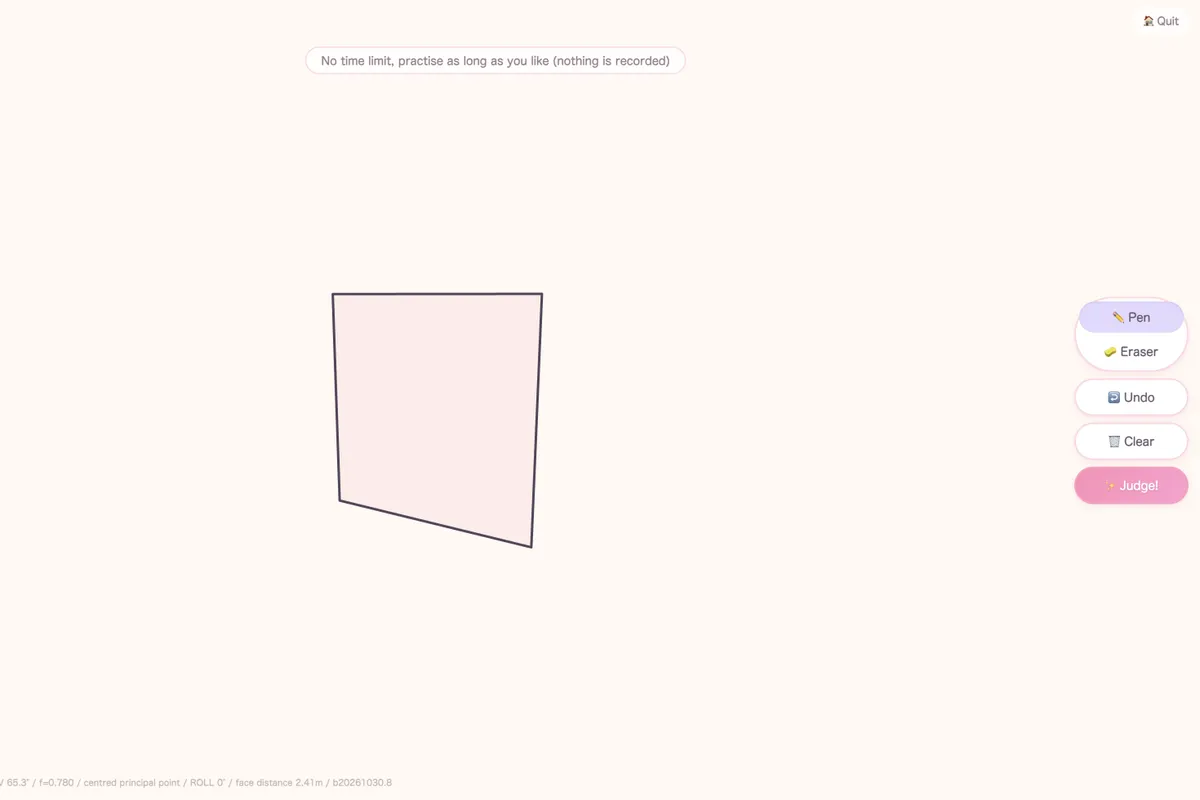
The Cube Challenge above uses a straight-line camera with a 65.3-degree view. In a five point perspective circle, that view would fill only the middle 29% of the radius, where curves are so slight they look straight.
That is why the game is a useful warm-up: the middle of every fisheye drawing behaves like the game. Play three untimed rounds to sharpen how you read edges, then go back to your five point perspective circle. The game scores where your edges go, from 0 to 100.
Jump back to the gameOne Point vs Five Point Perspective
Five point perspective is one-point perspective stretched to 180 degrees. The center point does the same job in both. The difference is what happens at the edges of the view.
One point perspective
- A normal lens shows a narrow slice of the room.
- Every edge is straight; depth edges meet at one point.
- Side walls get cut off by the frame.
Five point perspective
- One circle shows the whole half of the room in front of you.
- Edges across the view bend; depth edges stay straight.
- Walls, ceiling and floor all fit inside the circle.
The same room in one point perspective (left) and in five point perspective (right).
Six Five Point Perspective Mistakes and How to Fix Them
Most problems in five point perspective come from six habits. Each pair shows the wrong version beside the fix.
1. Straight edges across the view.Fix: draw them as arcs through two opposite points.
2. Curved depth lines.Fix: lines toward the center stay straight.
3. Arcs that pinch inward.Fix: every arc bulges away from the center.
4. Arcs that miss the points.Fix: extended, each arc passes through two points on the circle.
5. A center point off the middle.Fix: put it where both guide lines cross.
6. Drawing past the circle.Fix: keep everything you can see inside it.
How to Draw 5 Point Perspective Without Getting Lost
Run these four checks on every 5 point perspective drawing before you darken a line:
- Is the center point exactly where the horizon and the vertical cross?
- Does every edge across the view, extended, pass through two opposite points?
- Are all depth edges straight and aimed at the center?
- Does everything you can see stay inside the circle?
A useful habit for five point perspective: sketch a faint web of guide arcs first, three through the side points and three through the top and bottom points, then build the room on top of it.
Practice Plan: Five Point Perspective in 7 Days
Ten minutes a day is enough. This plan builds five point perspective one habit at a time.
| Day | What to draw |
|---|---|
| Day 1 | Three circles with all five points, drawn from memory. |
| Day 2 | Guide arcs only: three through the side points, three through the top and bottom. |
| Day 3 | A five point perspective room: curved back wall and straight depth edges. |
| Day 4 | Five game rounds, then redraw your weakest room. |
| Day 5 | Floor tiles and a door that follow the arcs. |
| Day 6 | A street from ground level with buildings bending away. |
| Day 7 | Review five point perspective with one full room, compared with Day 3. |
For a sideways panorama that keeps verticals straight, compare it with four point perspective, which wraps a full 360-degree turn onto one page. To see how close objects grow in a fisheye view, read the guide to foreshortening.
How We Tested These Steps
We built every diagram from a real 3D room using a stereographic fisheye, which turns every straight line into a true circle arc, so no curve is drawn by eye. One useful number came out of it: an object 45 degrees from the center lands about 41% of the way to the circle, not halfway, so the middle of the view stays roomy.
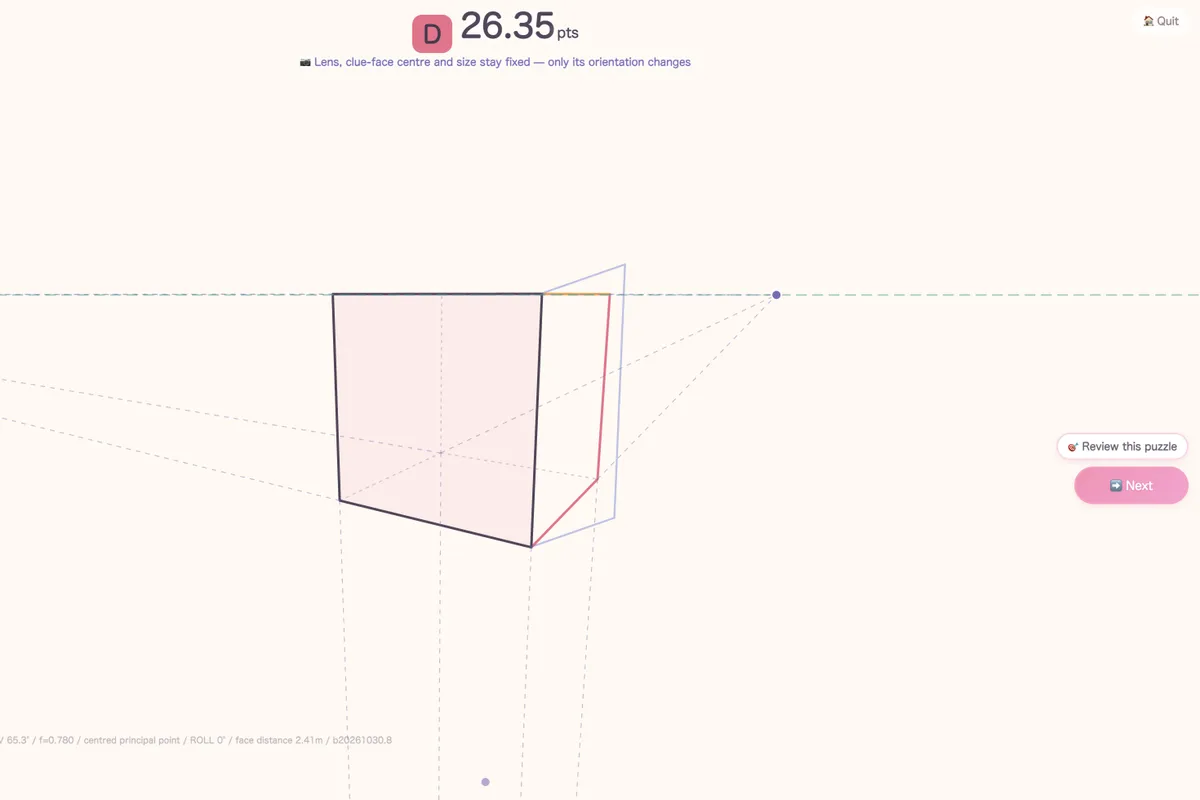
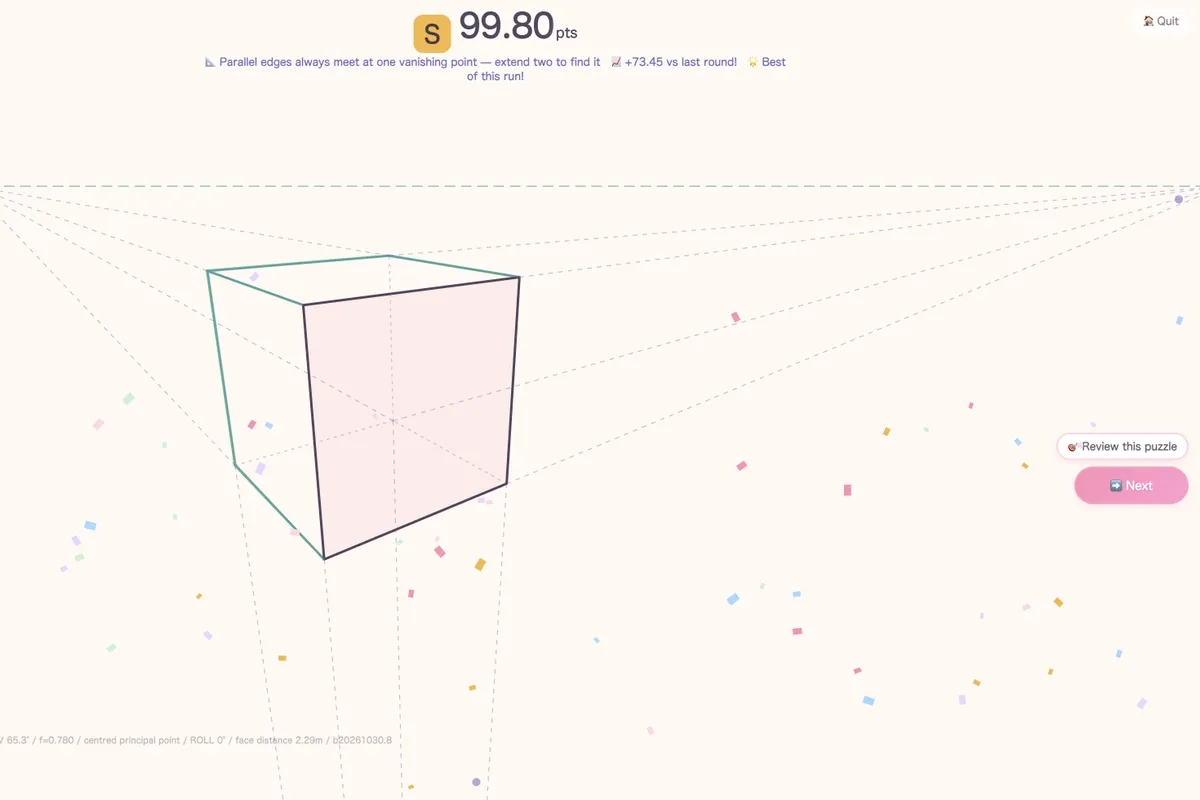
On November 15, 2026, we tested the straight-line skill underneath in the Cube Challenge, untimed Practice mode. Depth edges drawn parallel scored 26.35 (grade D). Depth edges aimed at their vanishing point, found by extending the given edges, scored 99.80 (grade S). Tested by the Daromeon team.
Limits: the game uses one straight-line camera, so it cannot check your arcs, the five point perspective circle or the center point. Practice those on paper.
Five Point Perspective: FAQ
What is five point perspective?
Five point perspective is a curvilinear drawing system that shows a 180-degree view inside a circle. It has a center vanishing point plus four on the circle: left, right, top and bottom. Lines across the view bend into arcs, while lines running straight away from you stay straight.
Is five point perspective the same as fisheye perspective?
Yes, in drawing they mean the same thing. Fisheye perspective, also written fish eye perspective, copies the round, bent look of a fisheye lens. Five point perspective is the name for the construction: one circle and five vanishing points.
What is curvilinear perspective?
Curvilinear perspective is any system where straight edges are drawn as curves so a very wide view fits on one page. Four-point (a 360-degree panorama), five-point (a 180-degree circle) and six-point (the whole sphere around you) are all curvilinear perspective.
How do I draw the arcs accurately?
Pin a long strip of paper, or use a compass with its point outside the circle, so the arc passes through both opposite vanishing points. In five point perspective, arcs closer to the center are flatter. Draw a web of guide arcs first and copy their curve.
When should I use five point perspective?
Use it when you want the viewer to feel inside the scene: tight rooms, action shots, skateboard or security-camera views, and comic panels with a strong close-up. For calm, realistic scenes, one-point or two-point is easier to read.
What comes after five point perspective?
Six-point perspective adds a sixth point behind you, so the drawing can cover the whole sphere around the viewer. Most artists stop at five point perspective, because one circle already covers everything in front of you.
Ready to Practice Five Point Perspective?
Warm up in the cube game, then draw your first five point perspective room inside one circle.